
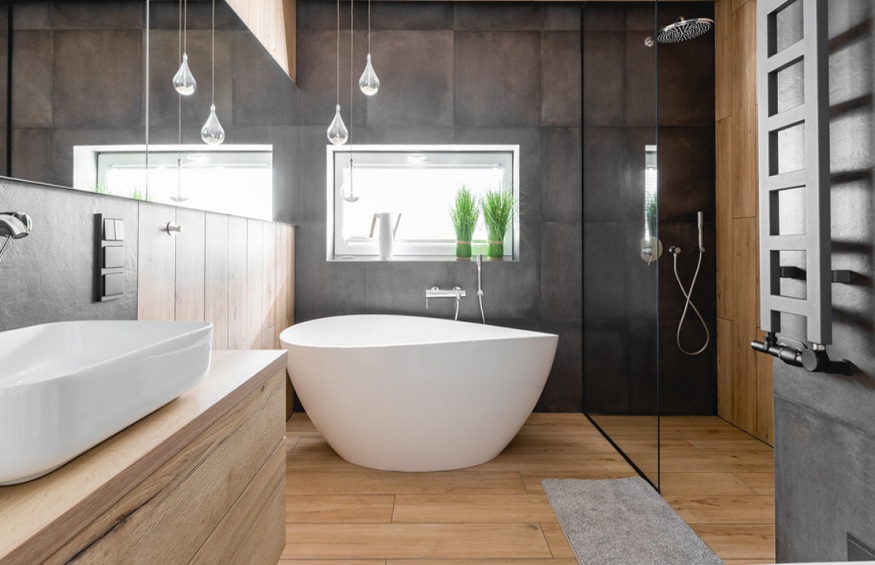
Above the washbasin in the shower area, the wall installation of bathroom tiles is very widespread and easy to implement. After applying a primer, the adhesive mortar, applied with a spatula and regularized with a comb, allows the tiles to be bonded. The cuts are made with a tile.
Wall tiles in the bathroom: the advantages
Tile is the go-to floor covering in homes , especially in wet rooms like bathrooms or kitchens . Thanks to these technical properties , it is the most suitable coating . Indeed, it is perfectly resistant to splashing water and it is easy to maintain.
The big advantage of tiling is that it can be laid on the floor as well as on the wall. You can use wall tiles in a bathroom same tiles for your floor or your wall, or opt for earthenware , reserved for the walls, which is more economical. In both cases, the laying technique will be the same.
They must be flat, coated and scraped of any roughness . To do this, it is necessary to degrease them and/or sand them with an abrasive or even to apply a coating to smooth them out.
Remember to apply a primer suitable for the walls so that the tile adhesive mortar is effective.
- See the catalog ManoMano
- Tile adhesive mortar
- Lay the wall tile tiles
- The dry bonding primer , you can start laying.
- Lay the wall tile tiles
- Start by identifying the axis of installation , we do not start the installation at the bottom or at the top of a wall.
Attach a cleat using a level , which will serve as a guide for a straight pose.
Prepare your adhesive mortar , by mixing the powder with water according to the proportions indicated by the adhesive manufacturer .
If you do not respect these proportions, if the mixture is too liquid in particular, the performance of the bonding will necessarily be altered . No hazardous savings on adhesive mortar.
Ready-made paste glue mixes exist and are well suited for wall installations and small surfaces such as bathrooms .
Lay the wall tile tiles
Then apply the adhesive mortar on your wall above your cleat, gradually . We do not spread the whole wall in advance.
Pass the glue comb. The furrows produced must be regular , if this is not the case, add adhesive mortar. Depending on the size of your tiles and the type of glue used, double-buttering is often necessary . If this is the case, apply the same adhesive mortar to the back of your tile and lay it down.
Lay your second tile next to it, leaving space for the joint using two spacers : the minimum joint will be 2 mm between the tiles .
Repeat the same operation for all the tiles to cover the surface, you will have spacers at each corner of the tile to serve as a guide. This way, all the tile cutouts will be at the ends of your walls , right and left, top and bottom. To make clean cuts, simply measure the necessary size and make the cut using the manual or electric tile cutter depending on your equipment.
The joints are imperative in tiling, no tile can be laid edge to edge. This operation is therefore essential for the stability of the structure
First prepare your joint mortar, exactly on the same principle as for the adhesive mortar, powder mixed with water , taking care to respect the proportions indicated by the joint manufacturer.
Apply the preparation with the spatula , filling all the joints without exception; do not hesitate to overflow and then remove the excess, as for a coating.
Once the joints have been applied, pass a sponge with clean water over all of your tiles to remove the excess grout mortar deposited on the tiles .
Apply a special end-of-site tiling product to permanently remove the white film left by the mortar .
This step should never be overlooked! Without this operation, the white veil will remain encrusted forever and on dark tiles for example, the aesthetics will not be there!


+ There are no comments
Add yours